
How to Get the Most Out of Your Interior Photoshoot - 9 Keys
/
It's not uncommon to develop an emotional attachment to certain projects, homes that you would love to keep as your own. However, all we can keep are the cherished memories and, of course, the photos. And these photos are arguably your most important marketing tool. In this guide, we will explore practical tips and considerations to help you maximize the potential of your interior photoshoots. From preparing clients and hiring a professional photographer to styling techniques and utilizing natural light, we will cover everything you need to know to create captivating images.
1. Set expectations from the start.
Before starting a project, communicate with your clients about the importance of photography and its impact on your portfolio. Ensure their cooperation and discuss any privacy concerns for high-profile clients. Setting expectations early on will help you secure the necessary access and cooperation for a successful photoshoot.
2. Arrange for an empty space.
Whenever possible, schedule the photoshoot when the owners can temporarily vacate the space. This allows you to work without distractions and gives you the freedom to rearrange personal belongings that may not align with the desired aesthetic. Before moving anything, take reference photos of the space as it is, so you can easily restore it to its original state afterward.
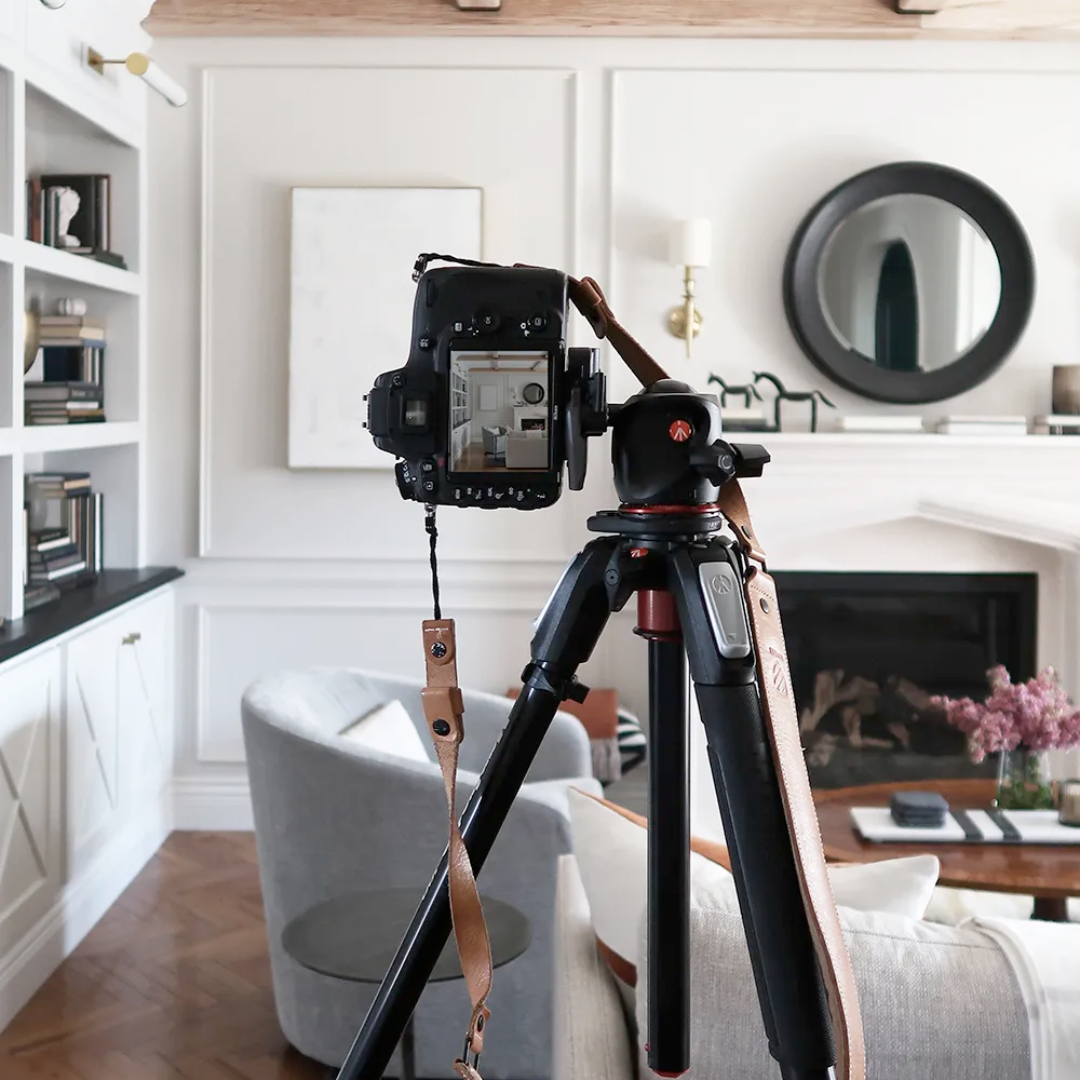
3. Hire a professional interior photographer.
While you may have an eye for design, entrusting the photography to a professional specialized in interior photography is highly recommended. They possess the technical expertise, equipment, and knowledge of angles, lighting, and composition that can truly elevate your images. Their experience can help you achieve magazine-worthy shots that increase your chances of publication.
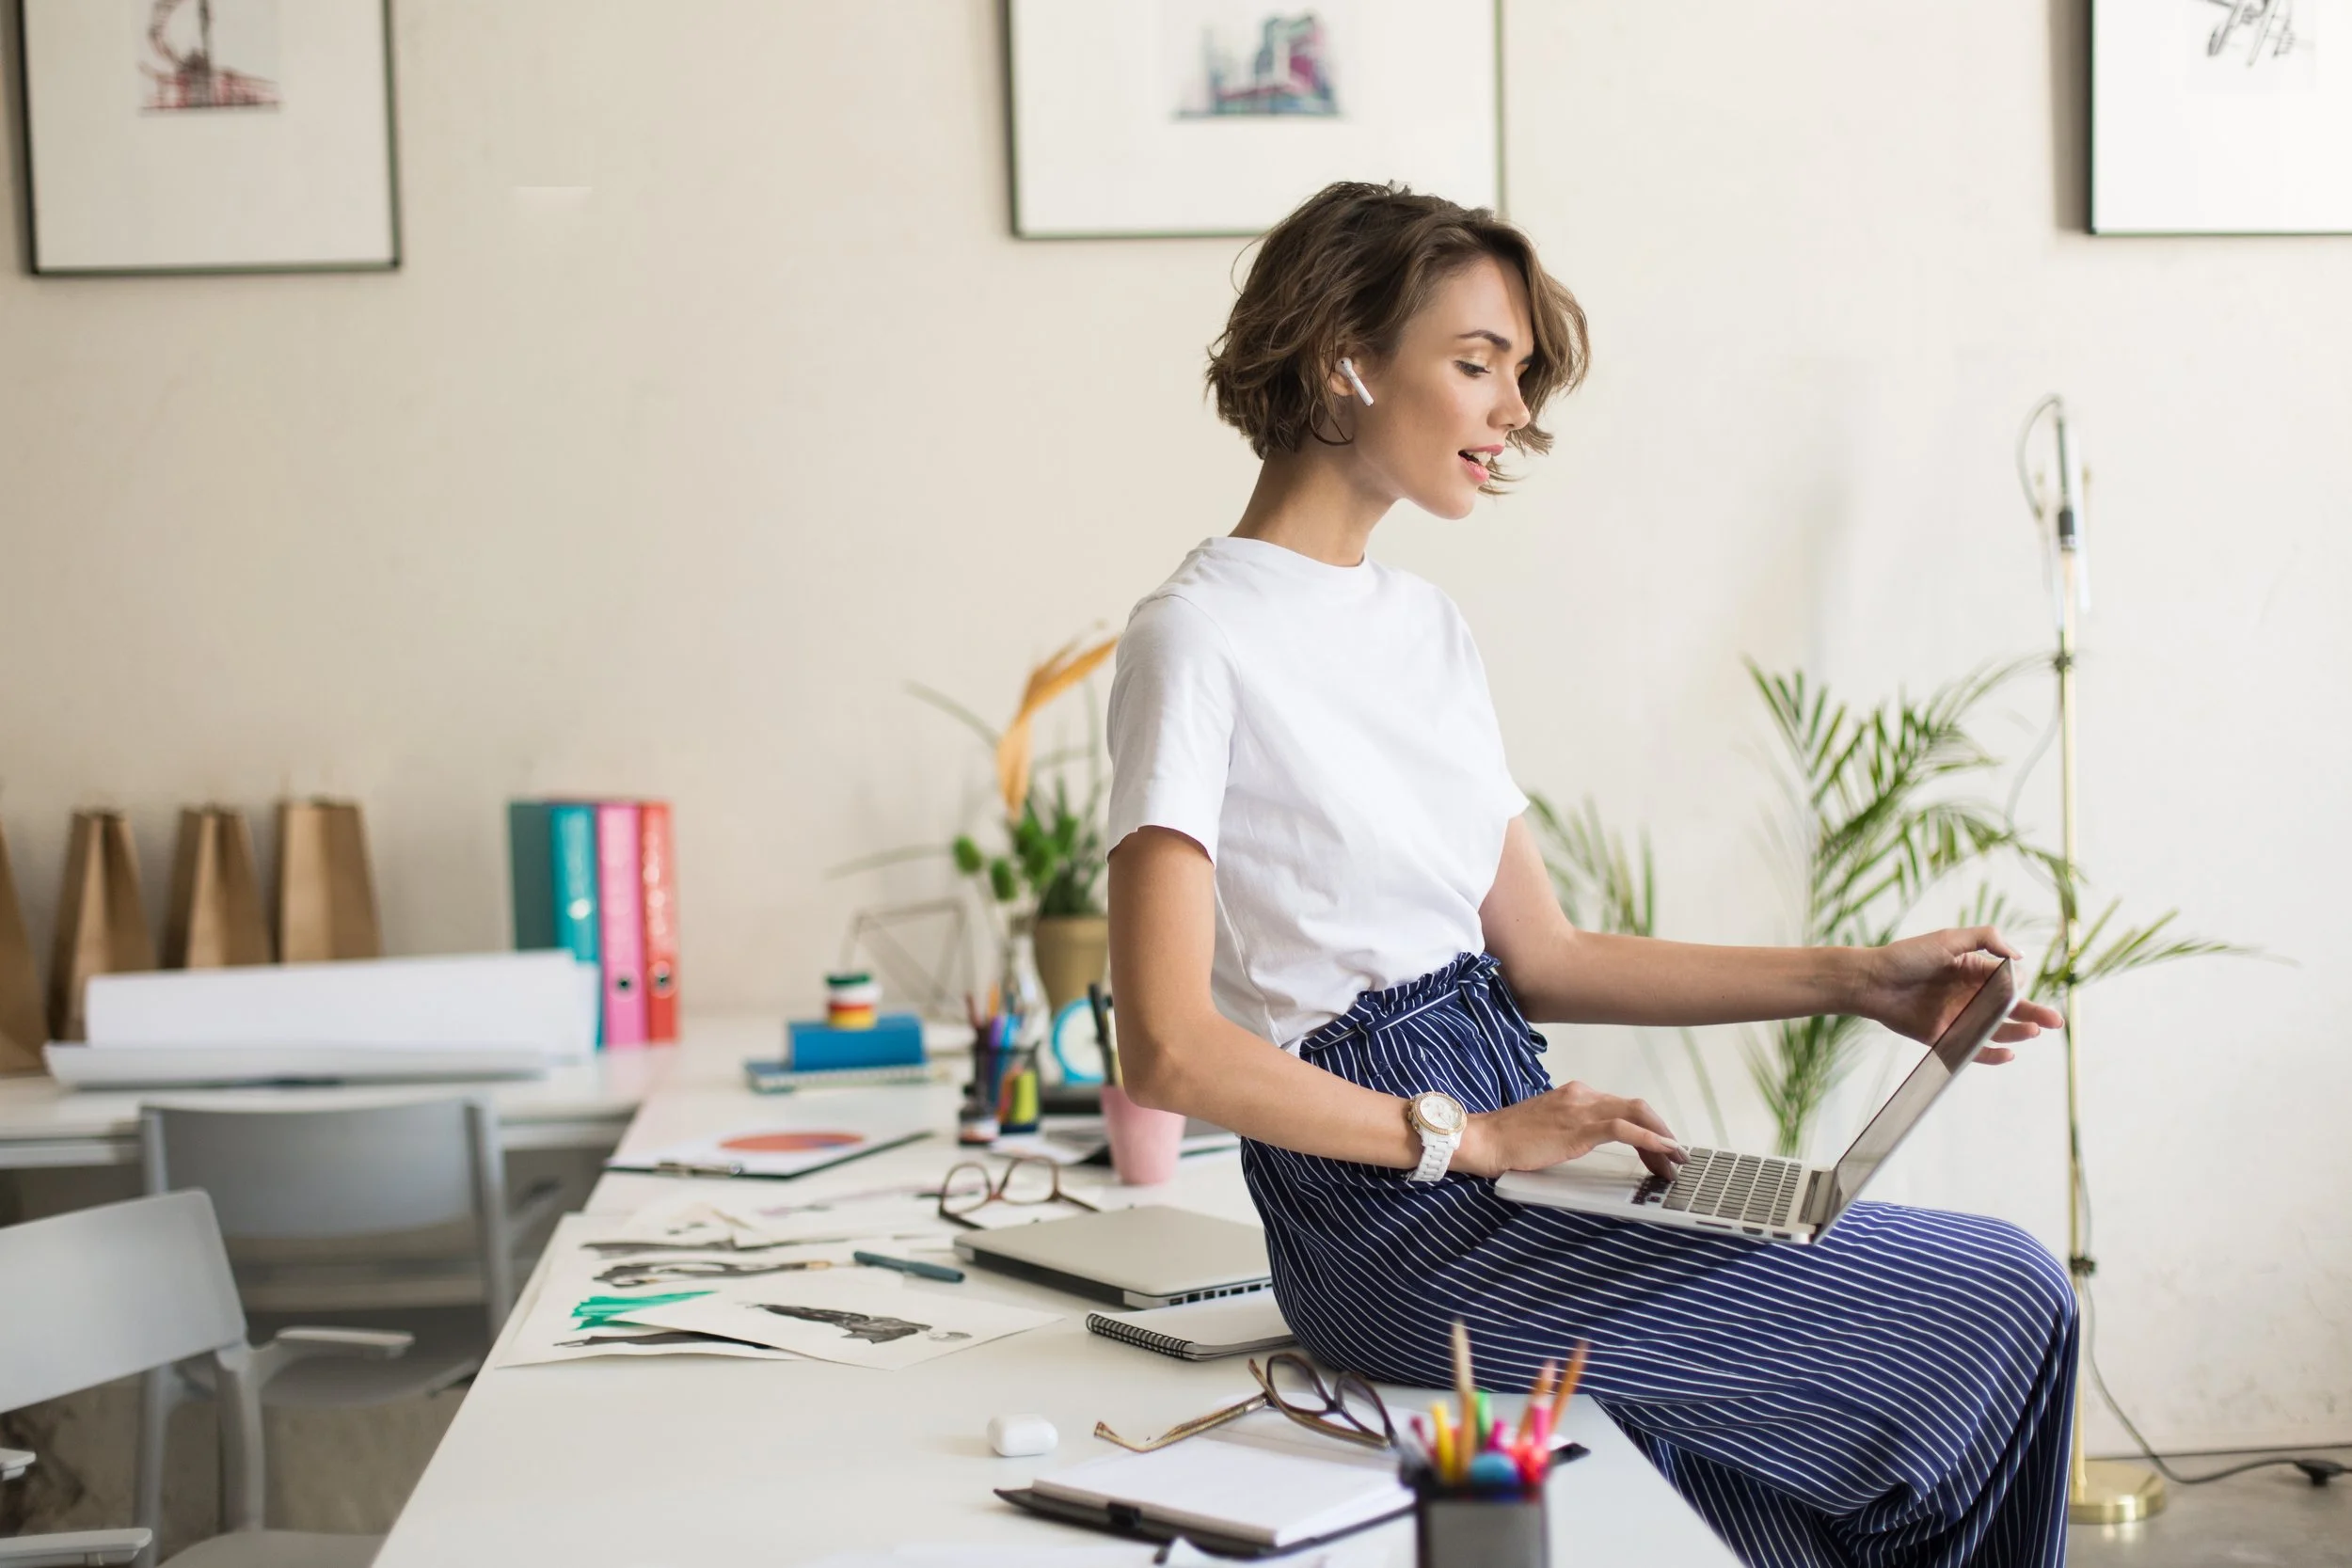
4. Enlist an assistant.
Having an extra set of hands during the photoshoot can be immensely beneficial. An assistant can help with styling, swapping props, and setting up different options quickly, saving you time and ensuring smooth transitions between shots.
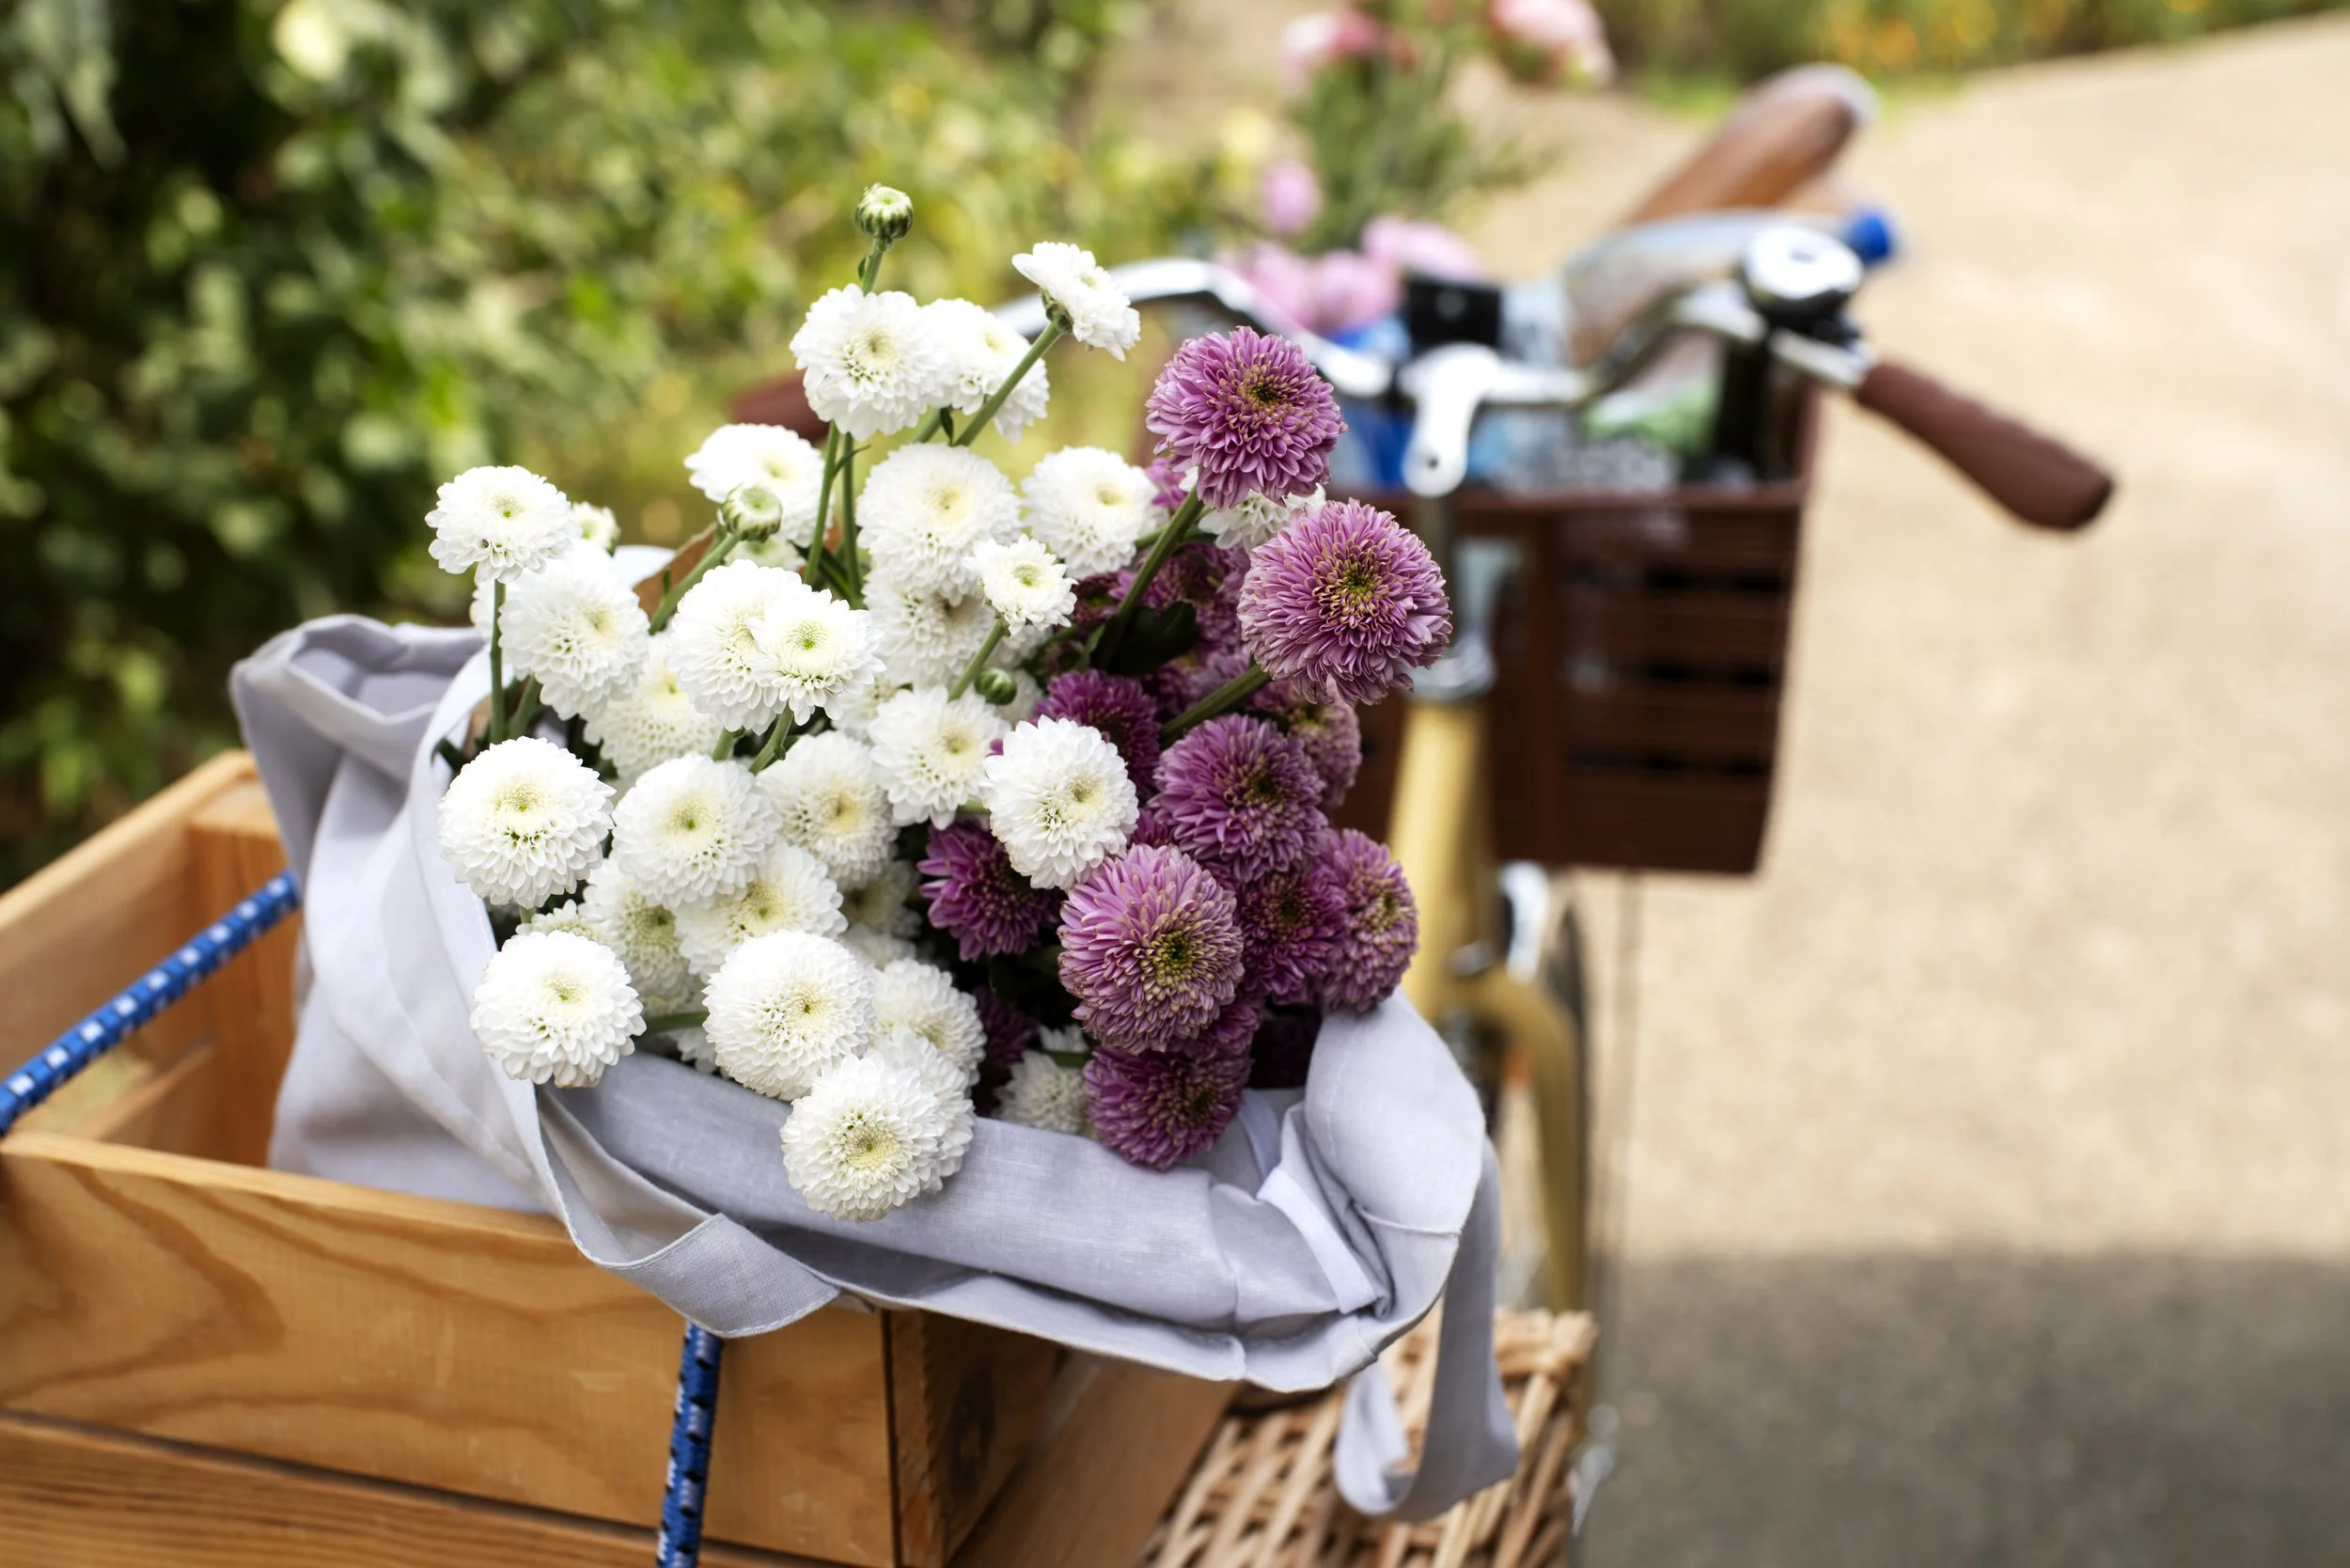
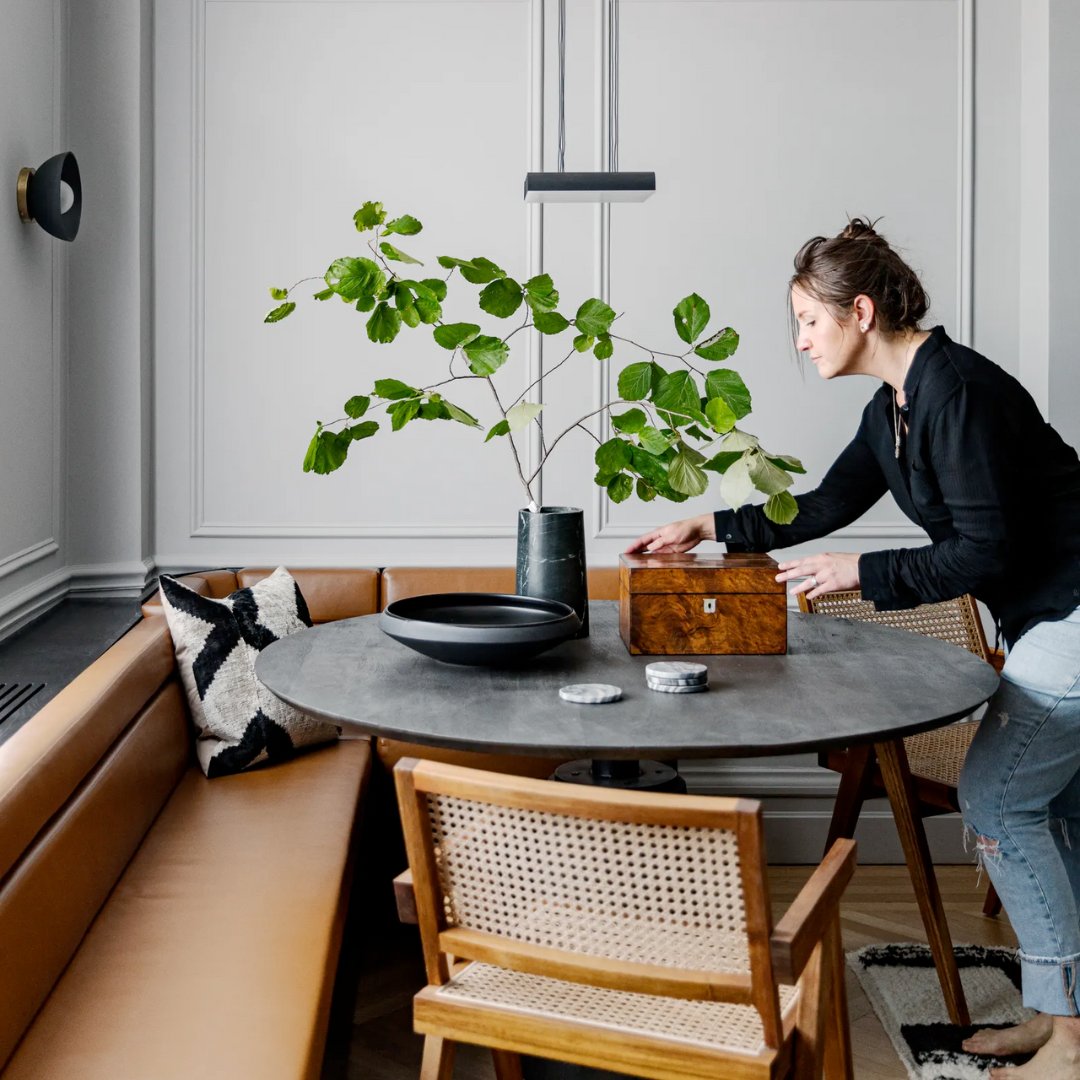
5. Come prepared with styling props.
To achieve a polished and inviting look, bring a variety of props that add texture and interest to your photographs. Consider items such as baskets, pillows, throws, freshly cut flowers or branches, vases, coffee table books, and even framed artwork. These props will allow you to create layers and a lightly lived-in feel that resonates with viewers.
6. Share the project's story.
Collaborate with your photographer by sharing the backstory and inspiration behind the design. Understanding the narrative will enable them to capture images that reflect and enhance the project's essence. By creating small vignettes that showcase everyday moments–think a sliced lemon next to a pitcher of lemonade on the kitchen counter–you can infuse the photos with a sense of intimacy and authenticity.
7. Discuss shot variety and formats.
Engage in a conversation with your photographer about the desired shot selection and formats. Discuss the importance of both overview shots to showcase the entire room and close-up shots that capture intricate details. You’ll want options in different formats that serve varying purposes and platforms. Ask for mostly vertical shots (best for magazines and social media) and some horizontal shots for your website.
8. Utilize natural light.
Communicate the orientation of the space and the best time of day for natural light to your photographer. Shoot during the hours when indirect natural light bathes the room, creating a warm glow. Avoid direct sunlight, as it can cause harsh shadows and highlights. Turn off artificial lights to maintain a consistent and natural ambiance. And don’t forget to hide the cords.
9. Prepare yourself for the long haul.
Photoshoots can be time-consuming, often lasting an entire day or even multiple days for larger projects. Prioritize your comfort by wearing suitable clothing, staying hydrated, and getting ample rest. Fully immerse yourself in the opportunity to capture every aspect of your meticulously designed space.
By following these tips and preparing for the photoshoot well ahead of time, you can ensure that the best of your project is brought out to make a great impression on potential clients and the industry as a whole. So enjoy it!
xx, Danae
DIGITAL TEMPLATES?
We love helping busy interior designers like you! So, in an effort to provide the best resources possible, WE WANT TO HEAR FROM YOU about what templates you’d like to see from us. Browse our current collection of templates here for any you might need or want, and email us at danae@elitedesignassistants.com to let us know what other templates you’d like us to make and have available for instant download!